Getting Started with Video Analysis
Greg Gourley
(MSNSW Coaching Team, Tuggeranong Masters Coach)
First Steps:
- Obtain formal approval to film from the Pool Management.
Seek permission from swimmers to film them and ensure that no one else is captured in the footage.
- Use a device that can film underwater
There is a huge advantage using underwater filming compared to over the water shooting with a Phone or tablet as swimmers see themselves underwater. Any faults in the stroke become very apparent and can often be missed when filming above.GoPro’s are tried and tested, however there are many other suitable cameras on the market. This article assumes you are using a GoPro Camera and IPAD for reviewing the footage.
- Filming
For image quality and size, we recommend setting your camera to 1080P – wide angle, at 30 frames per second (FPS). Here the file sizes in the camera are not too large to work with and battery life is reasonable. You can go up to 4K @ 60 FPS or 1080p at 240 FPS (depending on your camera) – however the file sizes become very large and problematic to work with plus and more importantly – they adversely impact camera battery life.As most of the filming is recorded with GoPro mounted upside down on the end of an extension pole, it is useful to set the camera in ‘down’ orientation. Otherwise the tablet will keep rotating footage. (Ensure your IPAD is connected to your GoPro via the GoPro’s WIFI, open up GoPro App on the IPAD, select Camera, control your GoPro, append settings and adjust orientation.)
- Basic Operation
Equipment:
GoPro (with extension pole approximately 900 mm or longer) to IPAD (connected to WIFI) (GoPro 5 or newer have better WIFI)Option: Use a “Swimmer’s Assessment and Feedback Sheet” to provide feedback and recommendation to swimmers on their individual most significant swim errors – or things to work on. If possible, have a scribe taking notes while filming.
Recommendation: Create one video file for each swimmer, start the camera as the swimmer gets prepared to swim, and then capture them saying their name – see below. Note most cameras use what is called chapters – these being short videos of approximately 5 minutes (depending on your cameras settings), if your video runs over 5 minutes, the GoPro may create additional files. Usually each swimmers video can be completed in approximately 3 minutes – so chapters can be avoided.
- Filming
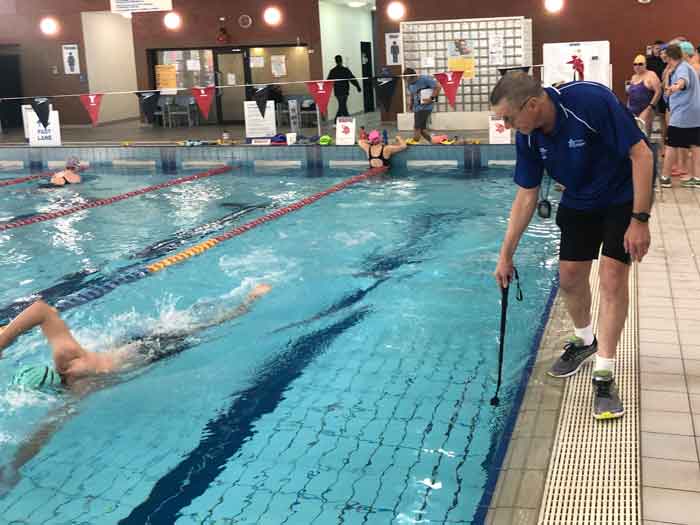
- Film using a side lane of pool
- If filming more then one swimmer, muster the swimmers so that you can film them one after the other.
- Start the camera
- Before commencing swimming, ask the swimmer to say their name to the camera.
- Filming Sequence:
a) Ask swimmer to swim near lane rope and swim 25 metres up the pool and then immediately back to the start (again near the lane rope).
Whilst filming in each direction:
Film side on – above and then below the water (approx. 30 cm deep), maintain the camera position to be pointing at the swimmers’ hip – the wide-angle setting will capture the whole swimmer.
b) Ask the swimmer to swim 25 metres up the pool between wall and the black line.
Film directly overhead above water (you will be filming holding your extension pole parallel to the water service and the camera is positioned directly above the swimmers’ hip – maintain the camera position to be pointing at the swimmers’ hip.
c) Ask the swimmer to swim directly down the black line all the way to the wall.
Film from the wall where the swimmer finishes, film above the water first (when the swimmer is away from the wall) then when the swimmer reaches a few metres from the flags, film under the water ( approx. 30 cm deep) – the swimmer should be swimming directly at the camera. - Stop the camera – one file is created.
- Repeat these steps if filming a group of swimmers
Quick Assessment:
You can provide immediate feedback on pool deck by streams the footing directly to an IPAD. You and the swimmer sit next to each other and review the footage.
- use the GoPro App – you can review the footage stored on the camera (connected via WIFI)
- Immediate feedback to swimmer for analysis and discussion
- Swimmer can then immediately practise drills /correction in water
Detailed Assessment:
Transfer the GoPro’s SD card to the PC. Note: this detailed assessment can take time.
Here some apps you can use for stroke analysis:
On Windows:
- Kinovea (software – free but no sound) – For stroke analysis – can measure angles, do slow motion, show two videos on split screen etc
- MovAVI video suite 18 (software at $100) (just one of many video editors on the market) – has sound, slow motion, you can record commentary over the swim playback, do stills, can apply text, arrows etc to the video.
On Apple:
- Objectus (software at $130) is a much better product
Footage can them be provided to swimmer on USB. Workshop footage can be kept on file. In future analysis both the original and the new footage can be shown on the screen at the same time to show progression.
If you have further questions, contact Greg gregory.gourley@gmail.com and he will be happy to help.